Showing posts with label painting. Show all posts

Thursday, March 14, 2013

Kitchen Progress - A Somewhat Final Reveal (For Now)

At the end of January, I posted that I was working on our kitchen and gave a sneak peak. Well, there's still plenty of to-do's let to do, but I'm too impatient to wait until I'm 100% done to show you how it looks. And really, as a DIY and home improvement enthusiast, is any space every completely DONE?

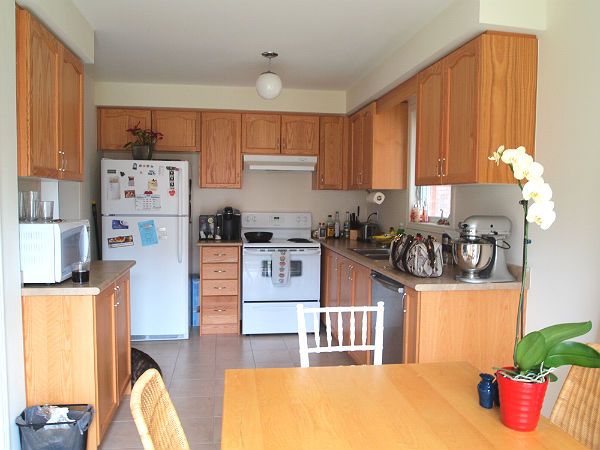
Here's what the kitchen looked like last fall. Oak cabinets and builder grade beige paint. Bland is the name of the game here.

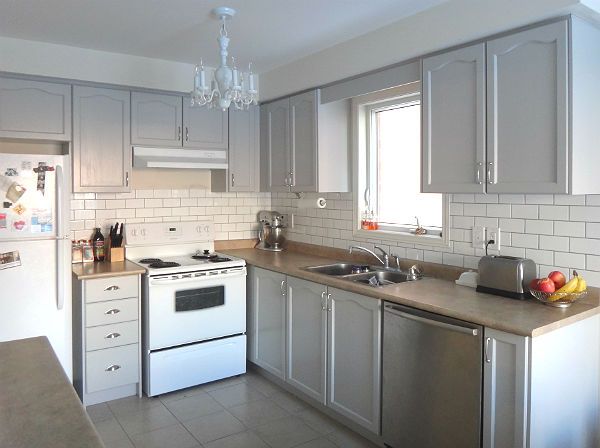
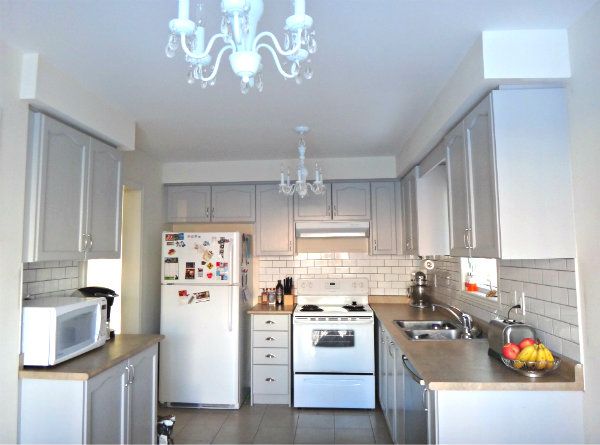
And here's what it looks like today!

What was done:
-A pair of chandeliers for the kitchen and breakfast area
-White subway tile backsplash with gray grout
-Painted kitchen cabinets in Rustoleum's Winter Fog
-Stainless steel cup pulls on the drawers

And that's it! All done for under $300 and that's including buying a couple tools and renting a wet tile saw. I'll admit, it did involve using a couple gift certificates received for Christmas and buying a couple things across the border where some things are significantly cheaper.

What's still to be done:
-Seal the grout with grout sealer
-Install over-the-range microwave or if I can't find one small enough, run the subway tiles up to the rangehood
-Roman blind for the window over the sink
-Accent rug

Once those things are done, I'd like to paint the walls a bright white before moving on to the other side of the room, which is the breakfast area. I'll post more about my plans for that very compact space soon.

Sunday, October 21, 2012

Another Guest Bathroom Update

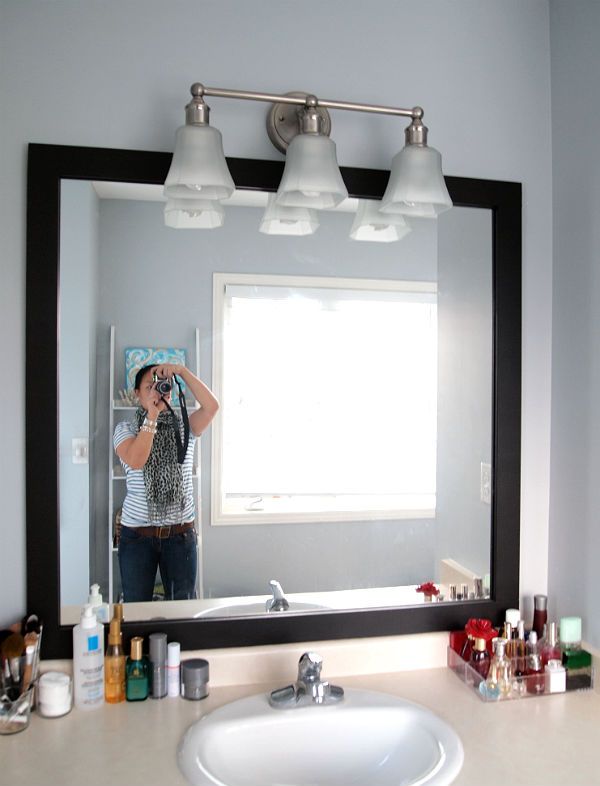
Here's another update on the bathroom. Last time the vanity area was hidden from view due to the huge mess of beauty products and other miscellaneous junk strewn everywhere.

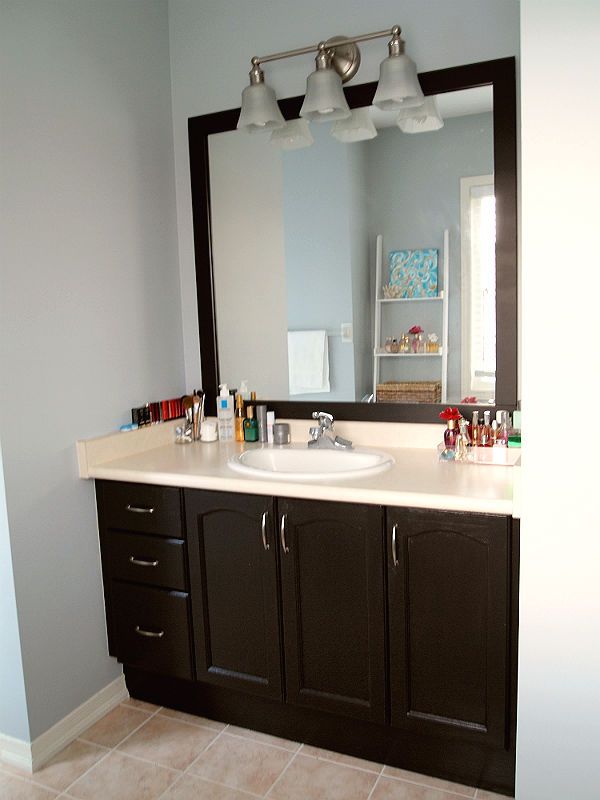
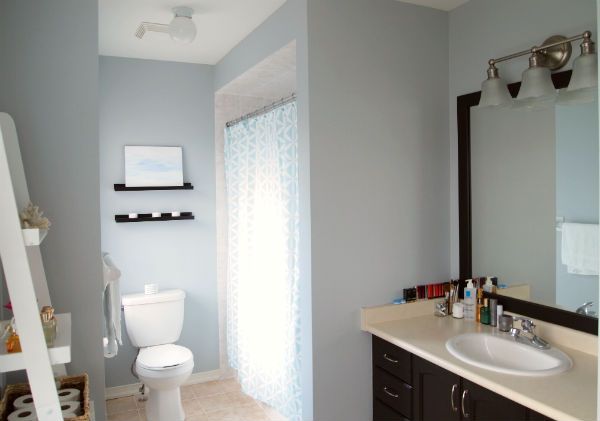
I've since cleaned it up a little so here's what it looks like today:

My lens isn't wide enough to capture the whole bathroom but you get the idea. As I mentioned in my previous update (located here), there are still a few minor enhancements I want to make but otherwise I'm done here and ready to focus my attentions on the next room.

This bathroom was done on a REALLY low budget. The mirror was framed with moulding from Home Depot. I used pre-primed moulding but in the future I'll save a few bucks, go with wood, and prime it myself. I cut it down to the lengths of the mirror using a hacksaw at Home Depot but in the future, I would like a saw at home as doing it AT the store means you have to have all your measures, correct and ready.

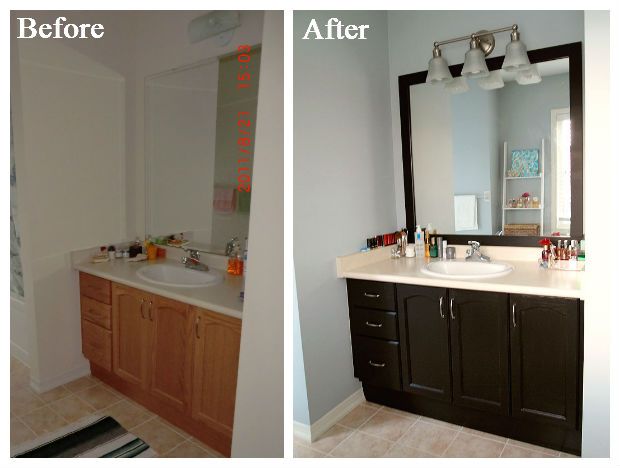
The paint is the same on the vanity and frame. It's a $1 sample paint point from Martha Stewart in "Francesca". I used two coats of paint, then I coated the vanity with a layer of Minwax Polycrylic as well.

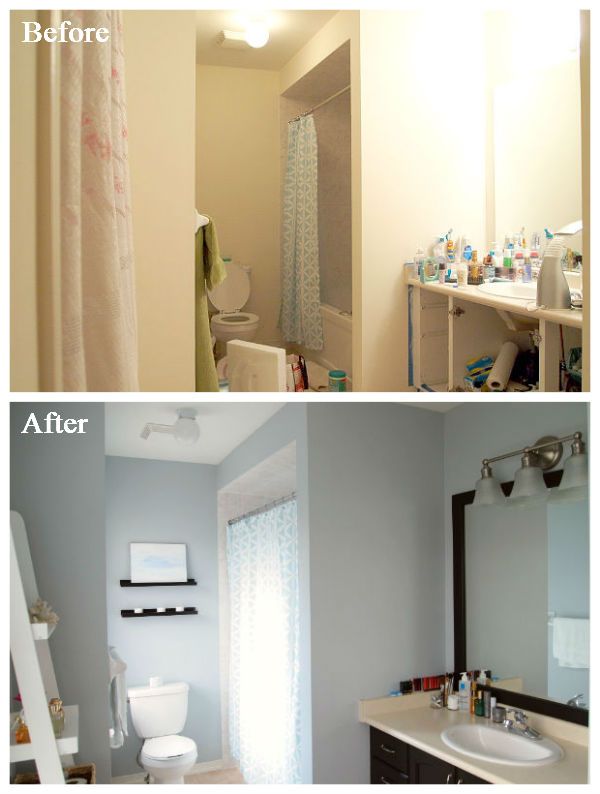
Here's a couple BEFORE/AFTER shots:

Tuesday, January 17, 2012

A Hint of The Blues

I am on the hunt for pale blue curtains, preferably in a raw silk but so far no luck. We did find them at Pottery Barn but they were $103 a panel on sale and we need 4 panels. That's $465.56 and definitely a no-no here. I also hesitate to purchase online because I want to feel them in person and have no surprises when it comes to the color.

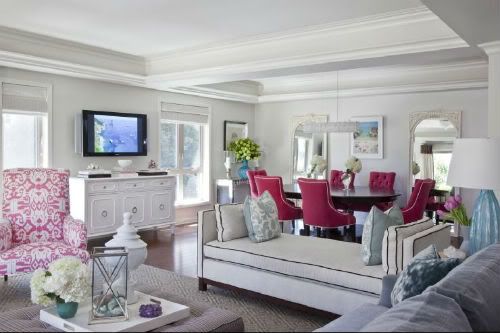
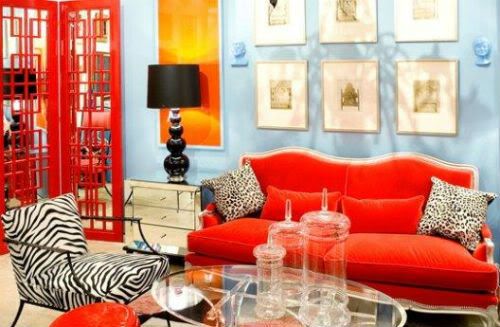
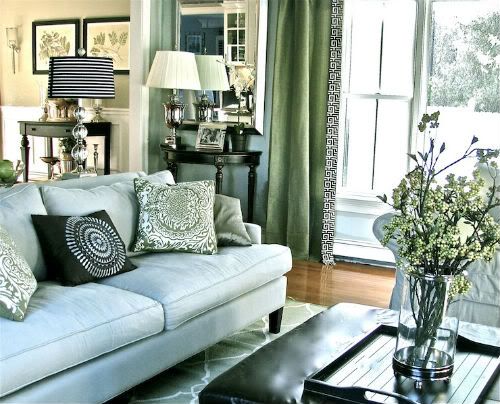
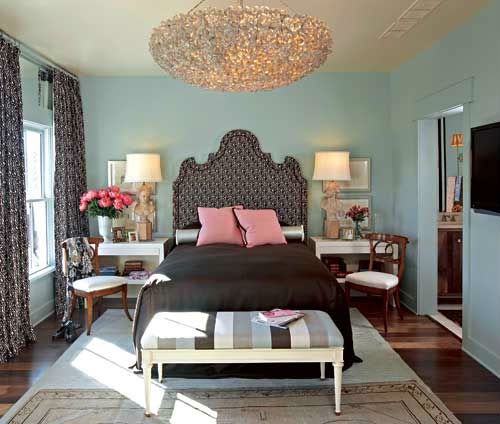
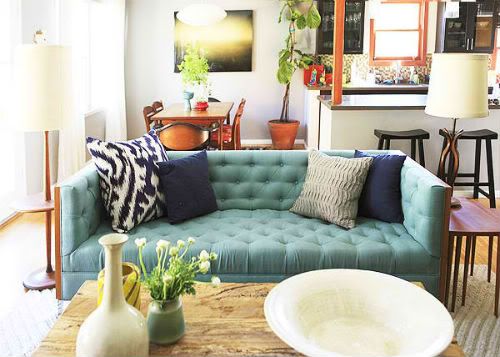
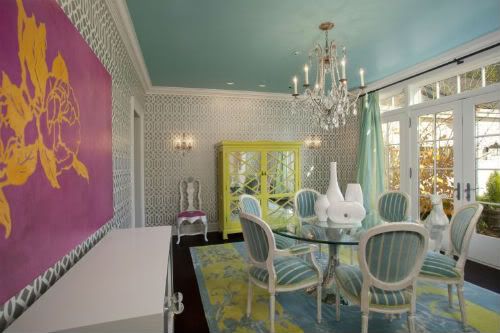
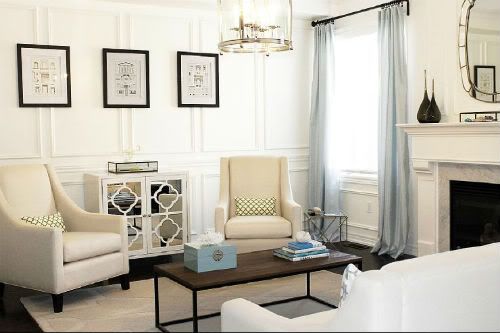
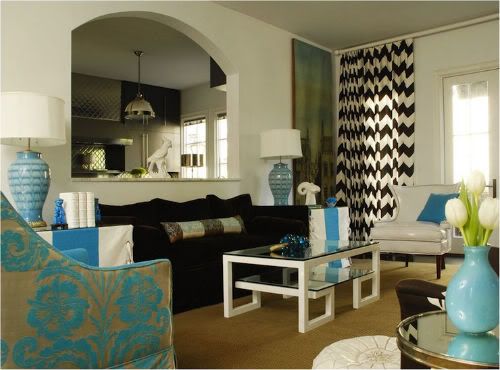
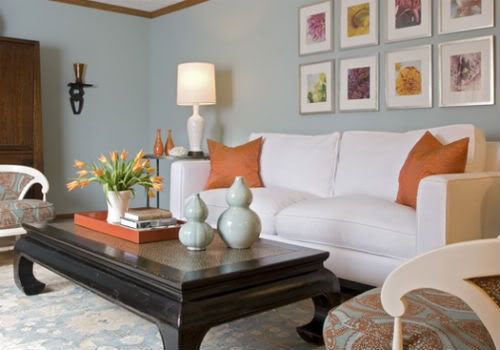
I'm really hoping we find some soon because I'm just loving the impact that light blue - aquamarine, turquoise, powder blue, etc. can make to a room. Whether via a major focal wall or a small accent, the hint of blue really adds that extra touch to the room.

Check out these beautiful rooms with a hint of blue and you'll see what I mean.


all images via decorpad.com

Monday, January 16, 2012

Living Room Progress - Paint, Layout, To-Buys

Everyone's been asking when the house warming is but being a perfectionist, I don't want anyone to see it in its semi-finished state! Sure, a home is never "done" - there's always something to add or change - but I'd like it to look a little more permanent than that.

So with enough pestering, I finally got off my behind and tackled painting of room #2: Living Room so it doesn't look completely haphazard when the guests arrive sometime this month or next. To recap: #1 was the hallway in Benjamin Moore Silver Fox and #3 will be the master bedroom in Benjamin Moore Smoke.
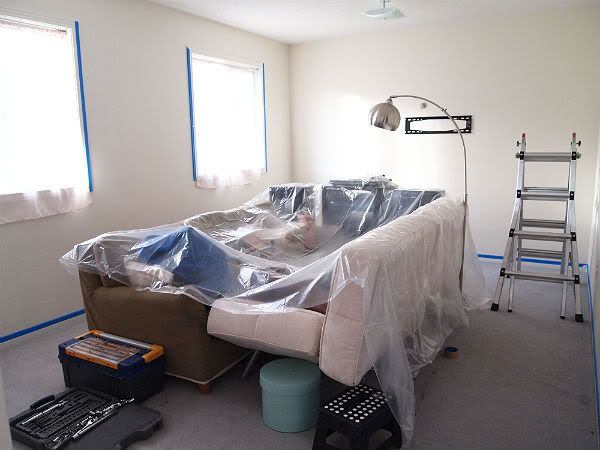


I piled all the furniture in the middle of the room and put a drop sheet over it. Then I taped up all the edges with 3M Blue Painter's Tape that's about an inch wide. I had previously used a regular masking tape width and had quite a few accidents with that so this time I tried something wider.
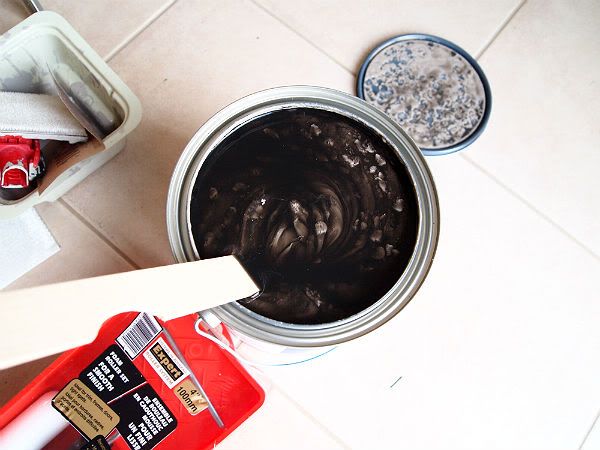


When I first opened the paint, it was this crazy witch brew of black and brown sludge. After a good amount of mixing, it finally started to resemble paint. I noticed this with Silver Fox but not to this degree. It looks quite scary at first.

Here's a corner of the room painted. I'm showing it here in a few different lighting scenarios. Although these are just the result of different camera settings, this is very similar to the effect on the paint from various lighting - daylight, soft white light bulb, incadescent, etc.
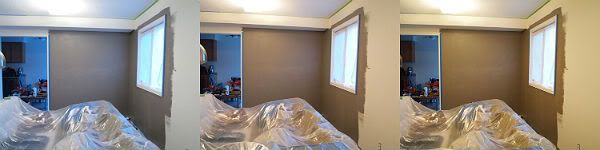


I wanted a color that was both brown and gray. Something that could change with the decor. In the next couple years we'll be replacing both existing couches and hopefully putting in hardwood, crown moulding, and a built-in bookcase. Needless to say, this paint will need to stand the test of time change. I didn't want to end up feeling like the paint was too brown or too gray.

I'm really satisfied with the way it turned out. It's not so dark as to be daring but enough to allow for that warm embracing feel.

The color is Benjamin Moore Taos Taupe and I highly recommend it for anyone who's fickle but loves his/her browns and grays.

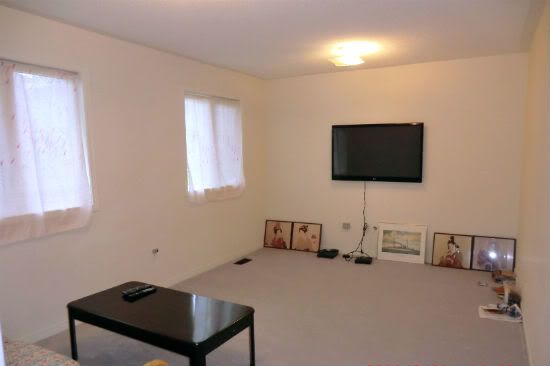
Here's a before/after shot:

BEFORE:

NOW:
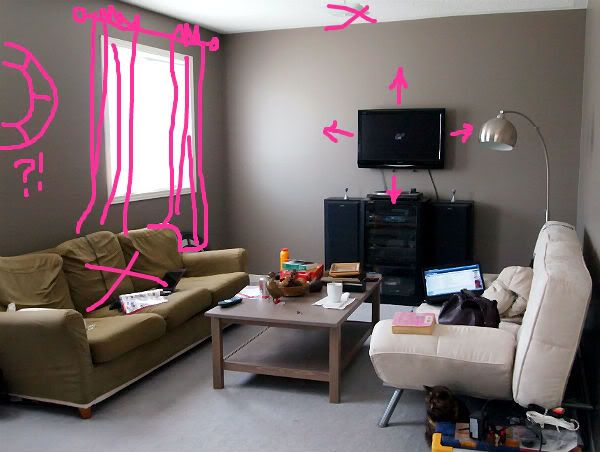

As you can see from my markings, there's definitely still a LOT to do (aside from cleaning up our mess!). Let's see....

-Put up curtain rods and drapes (this week)
-See how round mirror looks hung between curtained windows (this week)
-Hang art above white couch and perhaps posters either side of TV until built-ins (within 1-2 months)
-Put up hanging or semi-flush pendant lamps (within 1-2 mths)
-Replace saggy green sofa or both to match (within 1 year)
-Replace small 32" TV (within 1 year)

And more in the long term goals, in order:
-Install hardwood floors
-Install built-in bookcases
-Install crown moulding

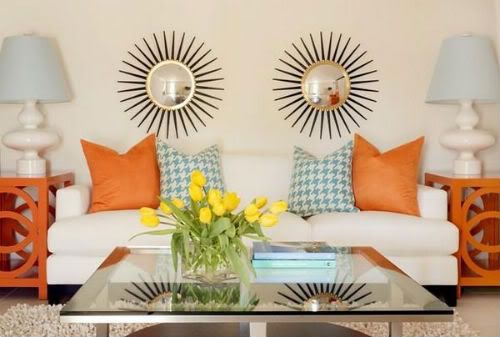
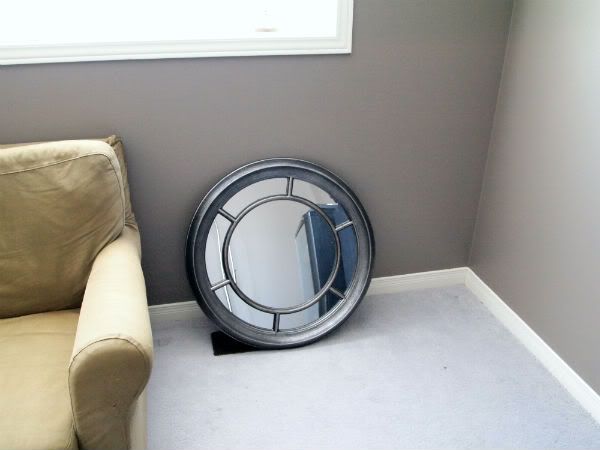
Here's the color scheme I'm trying to work with (thinking cream or dusty blue curtains with bright or burnt orange accents) and the mirror I'm going to try between the curtained windows.

LinkWithin

Related Posts Plugin for WordPress, Blogger...