Showing posts with label DIY. Show all posts

Wednesday, April 17, 2013

Kitchen Progress - Paint & Photoshop

A little more progress has been made on the kitchen with a touch of paint and a dash of photoshop.

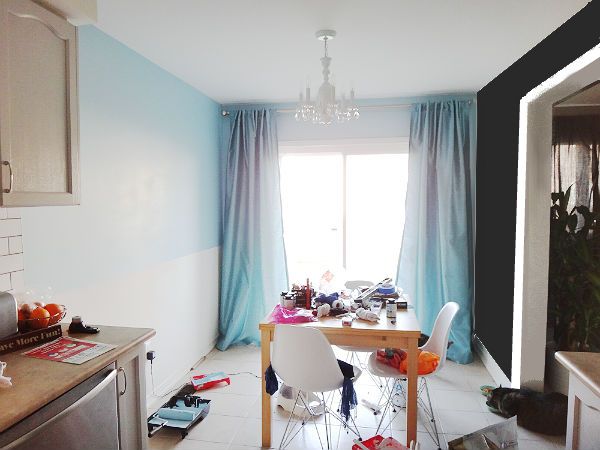
I painted most of the left and back walls in Martha Stewart's Aegean Blue. Let's not kid ourselves...it's baby blue. The kind you use in nurseries. But it's what I had on hand on a Sunday afternoon after all the stores had closed. The Martha Stewart sample paint pots went on sale for $1 (usually $5-6, I believe) at Home Depot last year and I went crazy, buying multiples of each color. I've already used 5 in the powder room (Araucana Teal) and just knew I could find a use for the others! I still have a few colors left which you might see in future projects...

I decided I can live with a baby blue wall once I added a little more elbow grease into the mix. I didn't want this color to overpower the small nook, so I left the bottom 40 inches white (same height as the kitchen countertop) in preparation for moulding. This will continue from the end of the kitchen counter to the corner of the back and right walls.

On the left side I did a little photoshopping. The black represents the magnetic chalkboard wall. The space was starting to look a little too dramatic and elegant for its small size so this "fun" wall will add a little contrast and lighten the mood. Plus, it'll be nice to have a wall sized notepad to practice my chalkboard skills, write a few pick-me-ups, and plan out our week.

FYI, the curtains are Target, the double curtain rods and blue paint are Martha Stewart. The kitchen table is Ikea. The chairs are Kitchen Stuff Plus. The chandelier is Rona. The magnetic paint and chalkboard paint (to be purchased) are by Rustoleum.

Thursday, March 14, 2013

Kitchen Progress - A Somewhat Final Reveal (For Now)

At the end of January, I posted that I was working on our kitchen and gave a sneak peak. Well, there's still plenty of to-do's let to do, but I'm too impatient to wait until I'm 100% done to show you how it looks. And really, as a DIY and home improvement enthusiast, is any space every completely DONE?

Here's what the kitchen looked like last fall. Oak cabinets and builder grade beige paint. Bland is the name of the game here.

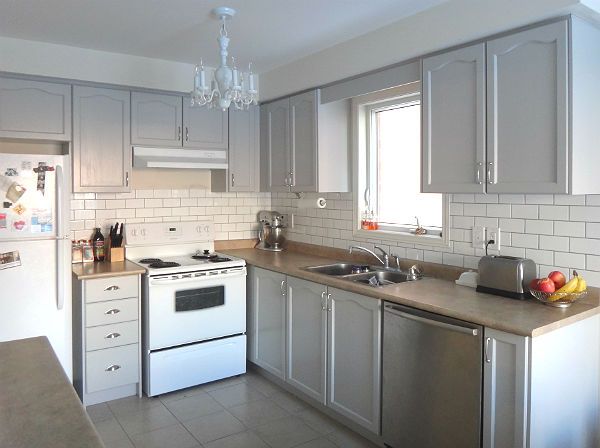
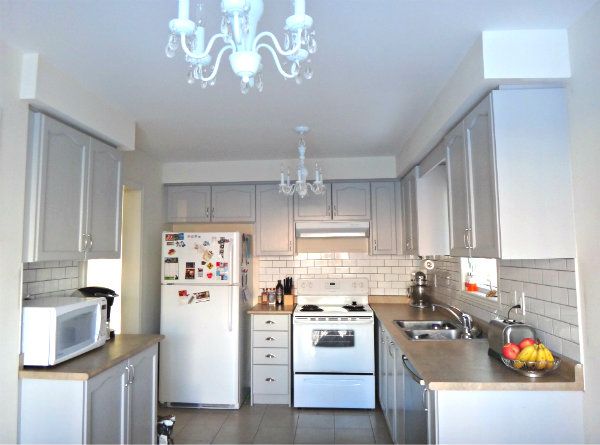
And here's what it looks like today!

What was done:
-A pair of chandeliers for the kitchen and breakfast area
-White subway tile backsplash with gray grout
-Painted kitchen cabinets in Rustoleum's Winter Fog
-Stainless steel cup pulls on the drawers

And that's it! All done for under $300 and that's including buying a couple tools and renting a wet tile saw. I'll admit, it did involve using a couple gift certificates received for Christmas and buying a couple things across the border where some things are significantly cheaper.

What's still to be done:
-Seal the grout with grout sealer
-Install over-the-range microwave or if I can't find one small enough, run the subway tiles up to the rangehood
-Roman blind for the window over the sink
-Accent rug

Once those things are done, I'd like to paint the walls a bright white before moving on to the other side of the room, which is the breakfast area. I'll post more about my plans for that very compact space soon.

Wednesday, January 23, 2013

Kitchen Progress - Refinishing The Cabinets

Finally, a update on the kitchen! This is one of the few places in the house that hadn't been touched at all since our move fall of 2011.

Below is what it looked like last summer. A only change made in the fall was the replacement of those chairs with 4 white chairs in the Eames Eiffel style (click here for my post on those chairs
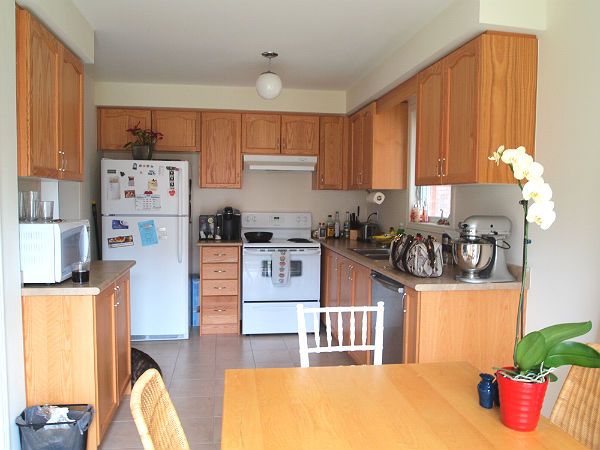
I love how big and well laid out our kitchen is, considering the relatively small size of our house (our fully-detached house is smaller than the semi-detached and townhouses in our area!). Some of the other houses we've toured have a very narrow galley-style kitchen. However, what I didn't love as much were the dated oak cabinets. The previously owners did absolutely no upgrades whereas many other houses opted for dark or white cabinets.

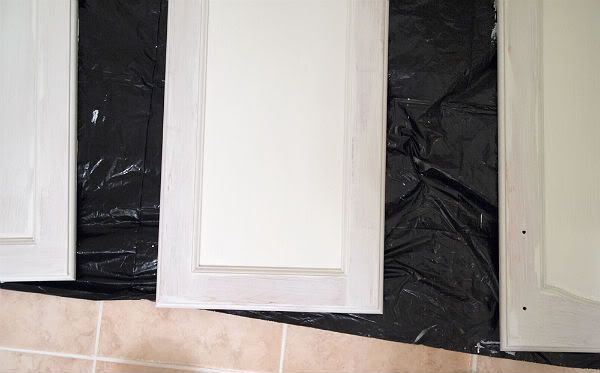
So I decided to take a gamble on the Rustoleum Cabinet Transformation kit. I'm sure many of you have heard of this kit already but if not, it's a kit that includes almost everything you need to repaint your kitchen cabinets. The process is straight forward - clean the cabinets, degloss, paint 2 coats, clear coat, and done! In reality, it's a very easy but extremely tedious process with long wait times between each step and well, just a of lot of boring painting involved.

Below is a picture of the before and sort of after. In this photo, most of the hardware has not been added back yet. I'm planning to finish it this weekend. Also, please try to ignore the mess! Everything is a mess as I've been moving applicances and stored items around for this painting project.
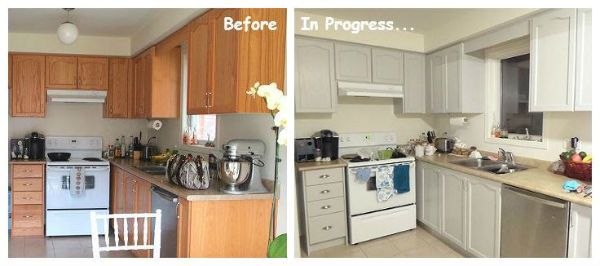
The color I chose is Winter Fog. It is a cool-toned light gray. The other contenders were Pure White, Linen (a warm off-white), and Kona (a dark black-brown). I decided against the whites as I felt they might've been too traditional and again Kona as our living room is darker and I wanted something more airy for the kitchen. I did not use the decorative glaze which would've made the color slightly darker/warmer and "rustic". I'm going for a more transitional classic-to-modern look and I felt that the glaze would give the kitchen too much of a French country vibe.

I'll take close-ups and more photos in natural light for those of you considering using this kit or this particular color.

Now that I've painted the cabinets, it's giving me the drive to do more upgrades in the kitchen. I've got tons left to do in this space but here's the big ones on the list:

Backsplash - I'm thinking either penny tiles or subway tiles. I'm thinking of ceramic white or translucent glass in white, seaglass, or pale gray.

Over-The-Range Microwave - After hosting a 13-people brunch recently, I realized that was pretty much the max dining capacity of our house at this time. But also, I realized that I was in serious need of additional counter space for both prepping and serving. This type of microwave would free up the separate counter wthat currently holds our stand-alone version.

Roman Blind - I'm going to tackle a DIY roman blind for above the sink. That window just looks into our neighbours so I'm looking for bold patterns/colors. While the gray is cleaner than the oak, it does make the room very washed out unless some color is added.

Can't wait to get started keep going!
Sunday, October 21, 2012

Another Guest Bathroom Update

Here's another update on the bathroom. Last time the vanity area was hidden from view due to the huge mess of beauty products and other miscellaneous junk strewn everywhere.

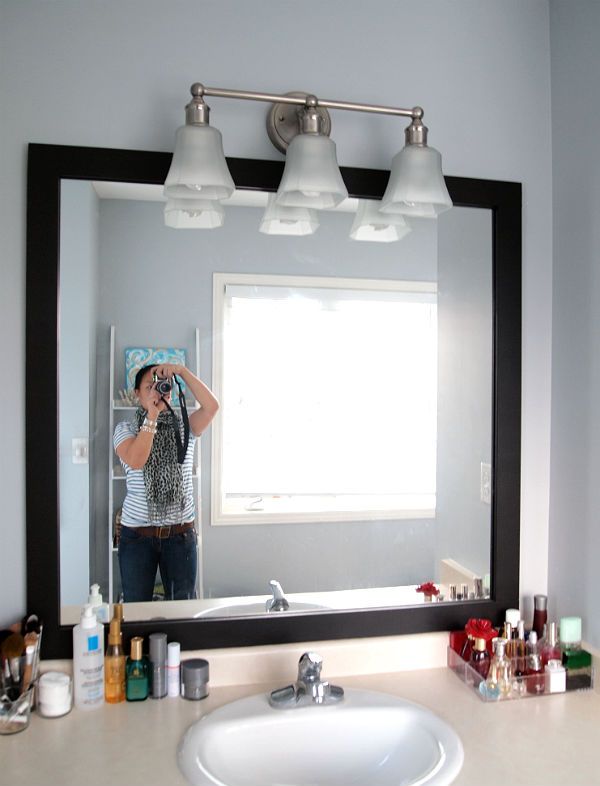
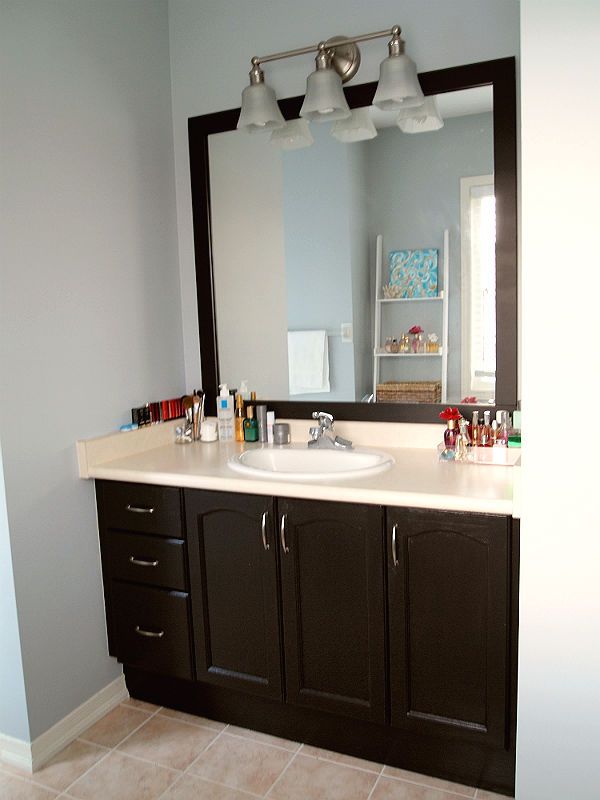
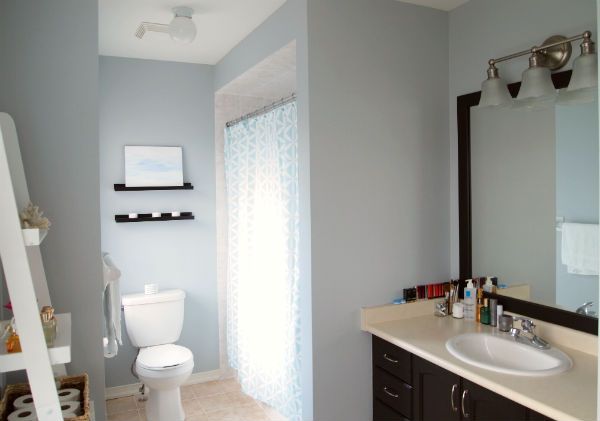
I've since cleaned it up a little so here's what it looks like today:

My lens isn't wide enough to capture the whole bathroom but you get the idea. As I mentioned in my previous update (located here), there are still a few minor enhancements I want to make but otherwise I'm done here and ready to focus my attentions on the next room.

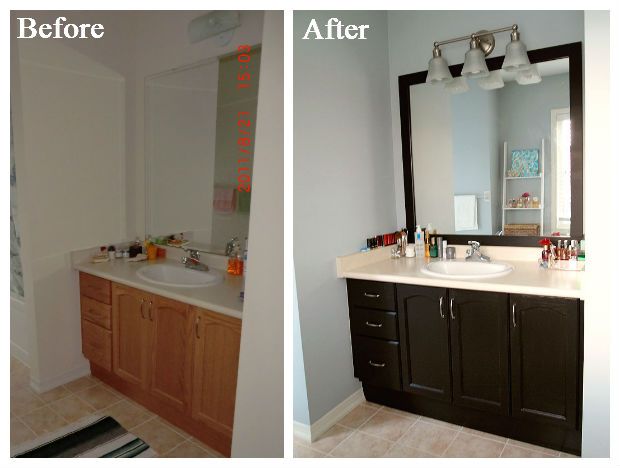
This bathroom was done on a REALLY low budget. The mirror was framed with moulding from Home Depot. I used pre-primed moulding but in the future I'll save a few bucks, go with wood, and prime it myself. I cut it down to the lengths of the mirror using a hacksaw at Home Depot but in the future, I would like a saw at home as doing it AT the store means you have to have all your measures, correct and ready.

The paint is the same on the vanity and frame. It's a $1 sample paint point from Martha Stewart in "Francesca". I used two coats of paint, then I coated the vanity with a layer of Minwax Polycrylic as well.

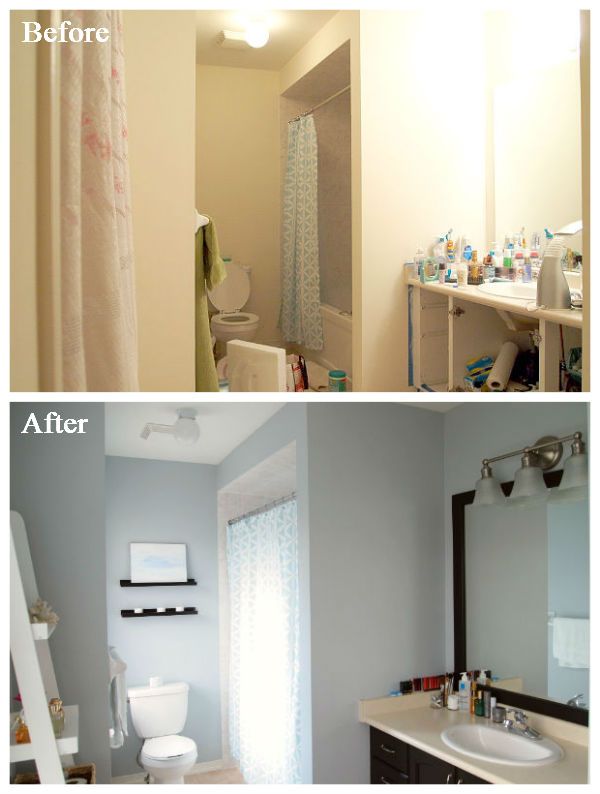
Here's a couple BEFORE/AFTER shots:

Tuesday, June 19, 2012

A Little World


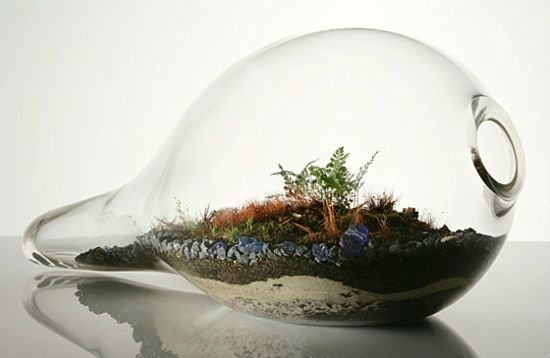
via redoitdesign.wordpress.com

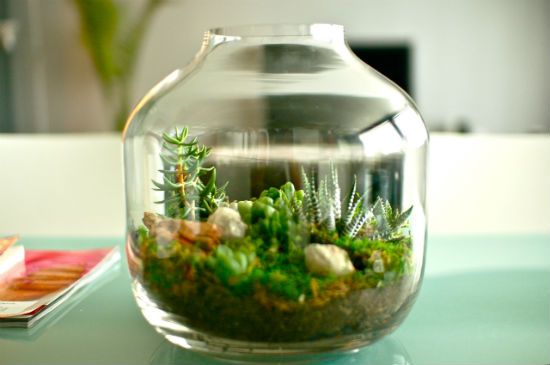
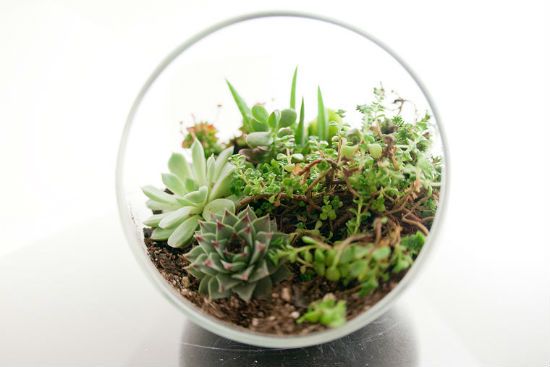
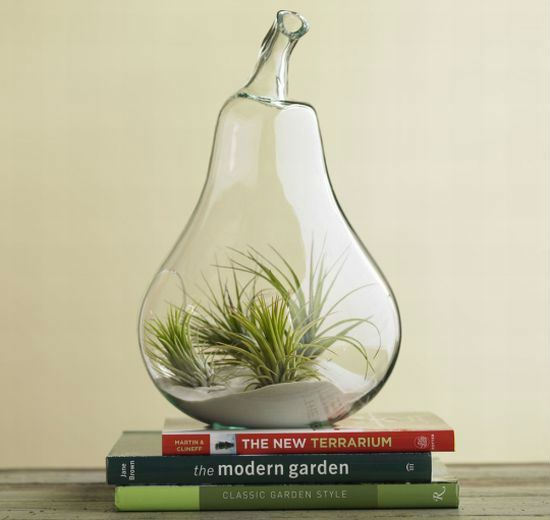
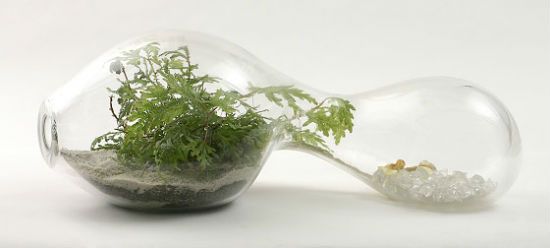
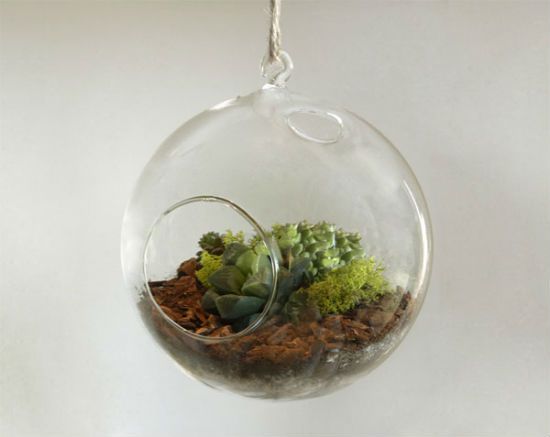
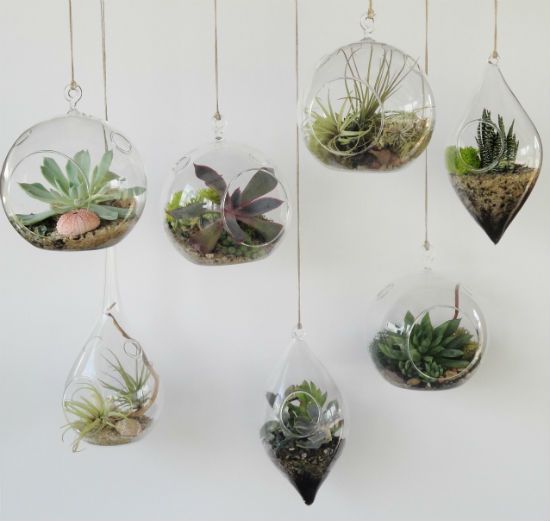
Terrariums have always fascinated me. There is something so magical about them, as if you're looking into a utopian little world inside the glass. You can almost believe each tiny plant is a giant tree providing canopy for the forest floor.

I don't know about you, but I find them so beautiful. I can't wait to create my own! The local Canadian Tire sells 3 sizes of succulents. The smallest one just a few centimeters tall. The dollar store across the street sells glass bowls and vases perfected suited to the task of a terrarium. I hope to get one going soon - this would be a perfect weekend project.

Here are some photos from my inspiration folder. I've been collecting these to get an idea of which plants to gather for mine and how to place them within their glass house.


via www.bornrich.com


via notmomscrafts.blogspot.com


via botanyfactory.com


via homehow.net


via www.spoon-tamago.com


via www.floragrubb.com


via abbeymckennasucculentdesigns.files.wordpress.com

Tuesday, March 6, 2012

Dreaming On Fumes

Thanks Court and Bri for your feedback!

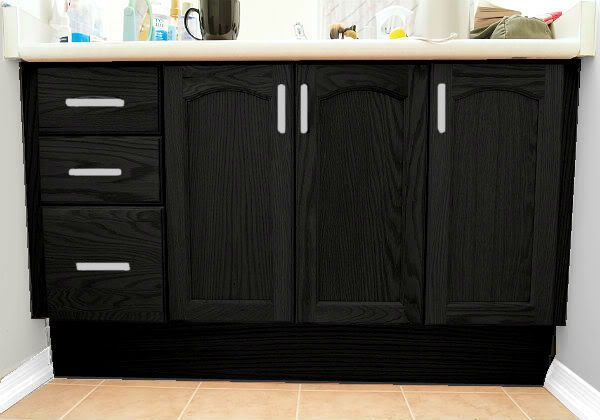
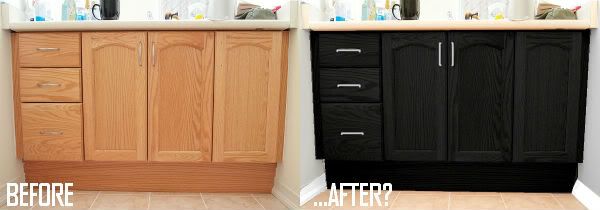
I put together a mockup of what the vanity would look like with Francesca paint and new hardware. I changed the wall color to a light gray as well since I found some paint from our old apartment that should work well with the black. I think I like the version with wider hardware as it's goes well with the more modern black paint/gray color scheme.


I'm hoping to commence with the painting tonight. I'm not in LOVE with this color scheme but it's a cheap fix until a new vanity is in the budget (which will be pretty much never as there's a gazillion other things to do first).

Expect another update in the next day or two (hopefully the "after").

Monday, March 5, 2012

Working on Fumes

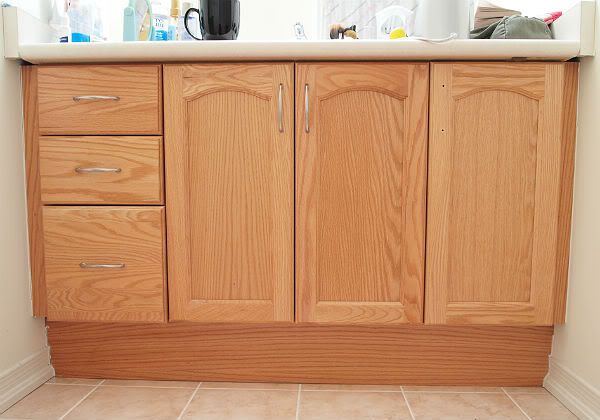
Sneak peak at what I'm working on. I`m repainting the guest bathroom vanity. Here`s the before:


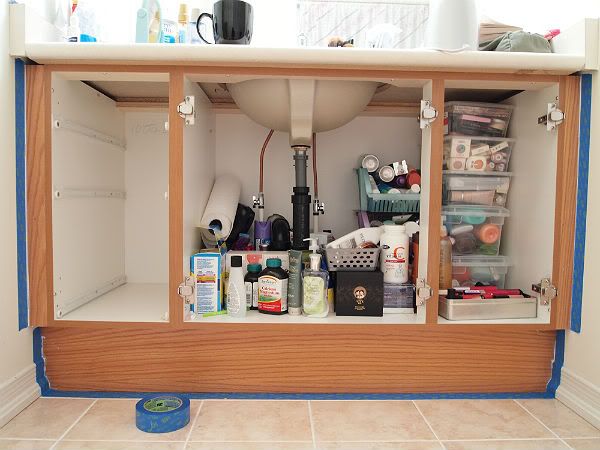
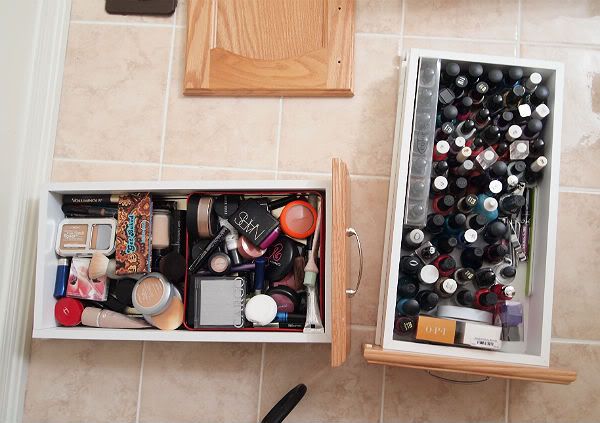
I removed the doors and drawers and taped the edges.


Okay, so yes, I have a lot of potential empties to go through. This should provide me with a lifetime (or 10!) worth of EMPTIES posts.


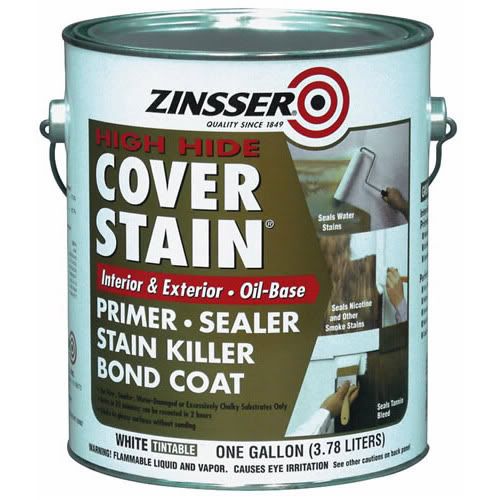
I am using a primer from Zinsser called Cover Stain which is oil based. There's also a blue Bullseye 123 (water based) and BIN (shellac based) version. Oil-based primer/paints are far superior to water based when it comes to adhering to "slippery" surfaces such as laminate or in this case, varnished wood although the smell is quite bad and really lingers. I left the fan going on overnight and after returning from work today there's still a smell, albeit much lighter.


I used two coats of primer. You can see in the center panel the different between a single coat (around the edges) and two coats (the middle). The latter is opaque.


When I checked today, the panels were dry. Unfortunately, the brush marks are really noticeable even though I tried to brush the primer carefully, in sweeping strokes.

I tried to purchase some paint conditioner but can you believe it?...Neither Walmart Supercentre, Canadian Tire, nor Home Depot had any in stock. Apparently paint conditioner is too obscure a concept.

But this does give me the chance to ask you all the following question all important question:

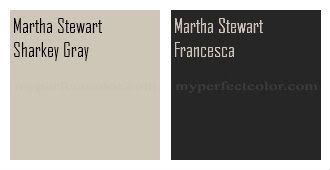
Which color should I paint the cabinets? An almost black? Or a light gray?


via www.myperfectcolor.com

I don't have a paint color in mind for the walls yet. The gray would be easier to apply (since I used a white primer) but the counter is a pinkish beige laminate which doesn't look very nice with light gray. At the same time, the black is beautiful but perhaps it's too dramatic? Please help!

Thursday, February 10, 2011

Mustache May


image courtesy of aruna b. photography


image courtesy of carl zoch photography


image courtesy of red photo co.


image courtesy of silva stills & cinema


No, the mustache-on-a-stick is nothing new but I still think it's a cute idea. Plus, often what is the latest craze in the blogosphere is not quite as popular offline so I get to try it without fear that it's been done a hundred times over already.

The carved wood ones are beyond my skills and fetch anywhere from $50-100 on the internet. They look great but are out of my budget.

I found a 20-pack of thin wooden dowels at the dollar store and will be on the lookout for some black and brown fun-fur to make the mustaches. Perhaps even some red or orange for that "ginger" look?

Monday, February 7, 2011

Project Invitation is Complete

I'm DONE!


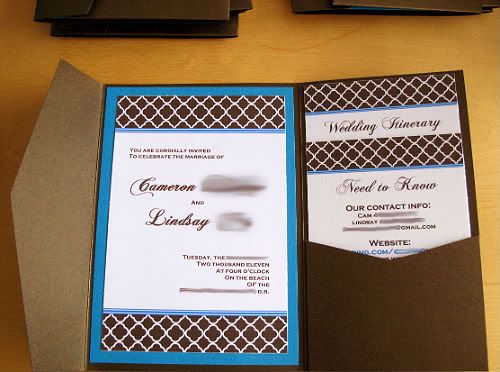
I delivered invites to work friends today and made another 18 invitations to mail out. I ended up with 3 types of brown ribbon because I kept running out. Those little rolls of ribbons from Michael's and Dollarama are very deceiving in length. I think they all turned out okay, though especially since people won't exactly be comparing invites.

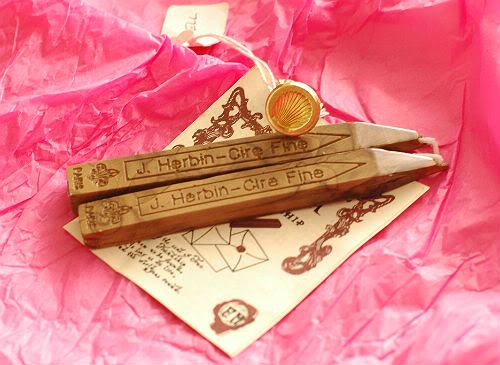
I'm addicted to the wax seal and if someone doesn't stop me, I'm going to start wax sealing everything in sight. Wax-sealed mail-in rebates and household bills, anyone?

Saturday, February 5, 2011

In-Town Weekend

I can't remember the last time Cam and I didn't have an "out-of-town" weekend. We live in the heart of downtown Toronto but in the past year or so, we've gotten into the habit of either going up to my mom's in the suburbs or somewhere other than right here.

This weekend we're actually staying home. It's 11:30AM and we're lying in bed on our laptops! Funny, it almost feels like a mini weekend get-away to actually stay here.

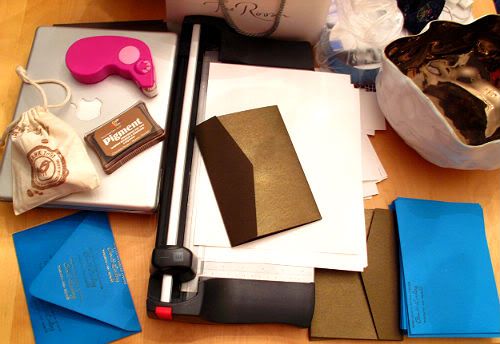
What are you doing this weekend? I'll be finishing my wedding invites using this wax seal I bought yesterday. I hope to have the invites done this weekend and mailed out early next week.


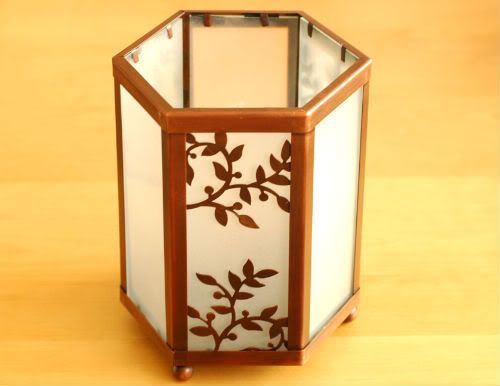
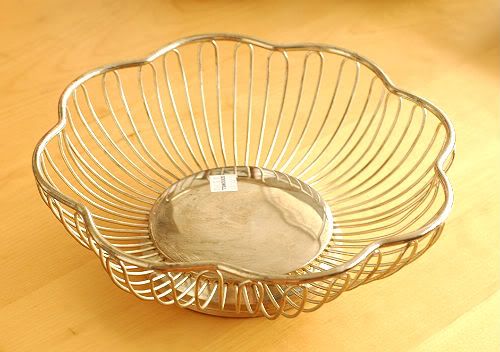
Also on my to-do list this weekend is finding places for these items I picked up during a Goodwill Friday Fever (50% off entire store). The Umbra candlesticks were $1.50 each, the glass lantern $2.50, and the metal basket $3.

It's dangerous working a few minutes away from Goodwill! Fortunately, my current job keeps me busy enough that I'm not going every lunch break.


Wednesday, February 2, 2011

Wedding Factory

PANIC TIME!! Our wedding is 3 months and 1 week away. To give you an idea of my procrastination, all of our guests last May/June and I am only now finishing up the invites.

The invites are pretty much done, customized return address stamp and all! I just need to find something to seal the pocket folds with. Perhaps a wax seal or a sand dollar charm.


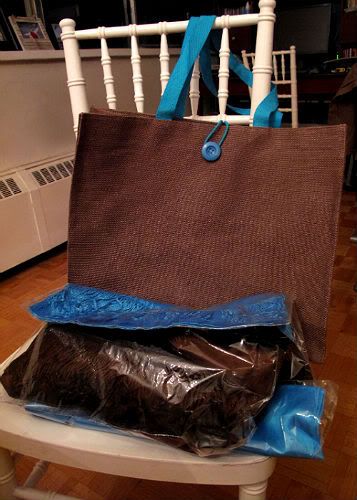
I'm also very slowly putting together the contents of the OOT (Out-Of-Town) bags for each guest. Each one is waterproof from the inside and perfect for toting things like magazines and dry clothes to the resort beach/pool. The pashminas will be great for the outdoor reception. I'll be putting together a "hangover kit" and some other goodies for this bag.


It was wasn't obvious already, our colors are brown and turquoise. I'm undecided between orange, coral, and yellow as the accent/flower colors.

LinkWithin

Related Posts Plugin for WordPress, Blogger...